
Turn off water, disconnect lines, remove old unit, set new sink, seal, reconnect, test.
You can learn how to replace a kitchen sink in one afternoon with the right plan, a calm pace, and a few smart tricks. I’ve swapped dozens in rentals and high-end kitchens. This guide shows how to replace a kitchen sink step by step, with real-world tips, code-aware advice, and mistakes to avoid so you get a clean, leak-free finish on the first try.

Plan the project and choose the right sink
Before you touch a wrench, measure twice. Trace the old cutout from below, or measure the rim to rim size. Note cabinet width, bowl depth, faucet holes, and how the mounting works.
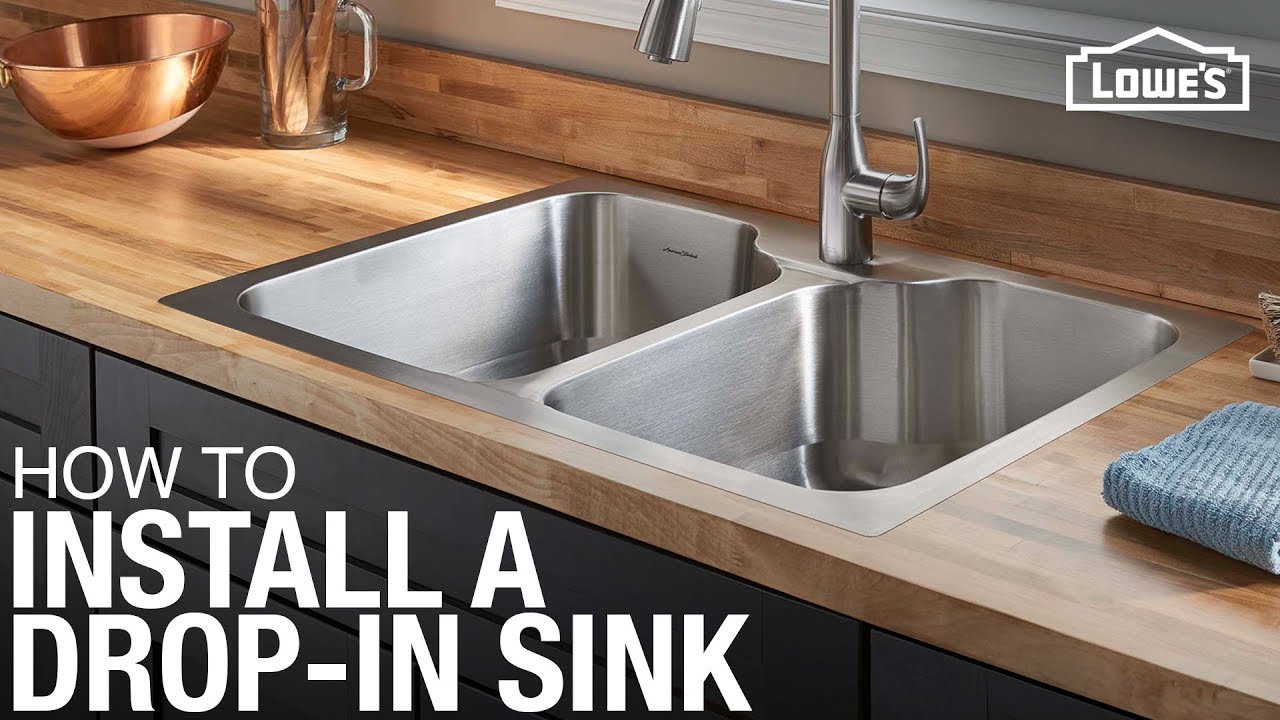
Pick a sink that fits the cutout and the cabinet. Top-mount, also called drop-in, is the easiest for DIY. Undermount sinks need a solid top and strong clips. Stone tops may need a fabricator.
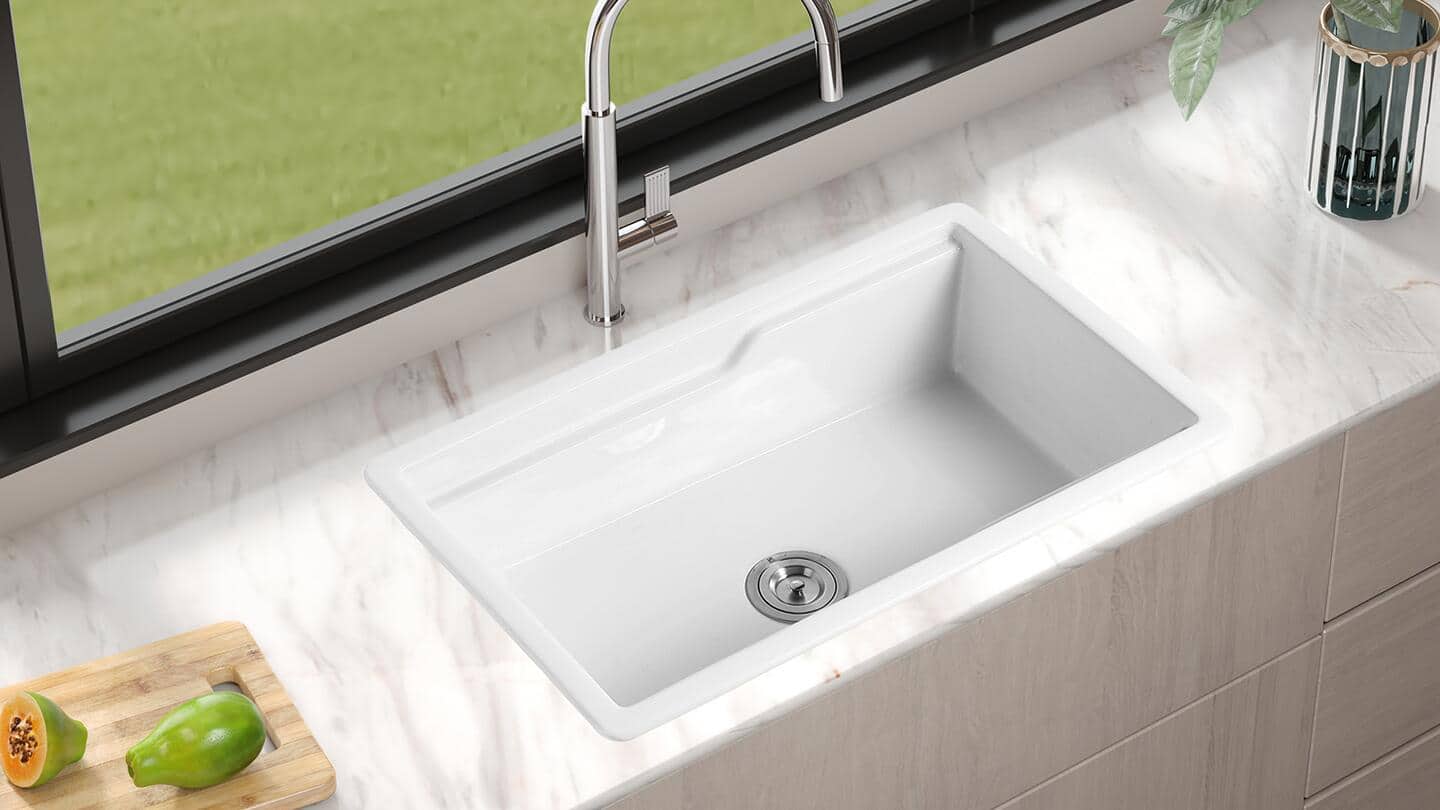
Choose durable parts. Stainless 16–18 gauge is tough and light. Cast iron looks classic but is heavy. Composite is quiet and resists stains. Match the drain size, usually 3.5 inches, and check faucet hole count.
Tools and materials you will likely need:
- Adjustable wrench and basin wrench
- Channel-lock pliers and screwdriver set
- Utility knife, putty knife, and painter’s tape
- Plumber’s putty and 100% silicone sealant
- New basket strainer or drain kit
- P-trap kit and tailpiece, 1-1/2 inch for kitchen sinks
- Supply lines, Teflon tape, and shutoff valves if replacing
- Bucket, rags, sponge, and flashlight
If you plan how to replace a kitchen sink from the start, you will skip last-minute store runs and stress. That planning is half the job.
Source: youtube.com
Safety, codes, and smart prep
Kill water at the shutoff valves. If valves stick or leak, replace them first. Turn off power to the disposal and dishwasher at the breaker.
Vent and trap rules matter. Most codes require a P-trap, not an S-trap, and proper venting. Use an air gap or high loop for the dishwasher drain. These basics keep sewer gas out and drains flowing.
Set the stage. Clear the base cabinet, lay towels, and place a bucket under the trap. Wear gloves and eye protection. Take phone photos of every connection. You will thank yourself during reassembly.
When you plan how to replace a kitchen sink, this prep cuts risk and time. It also protects your cabinets from water damage.

Source: homedepot.com
Remove the old sink without a mess
Follow these steps:
- Shut off and drain lines: Turn off hot and cold. Open the faucet to bleed pressure. Put a bucket under the valves.
- Disconnect supplies: Use a wrench to loosen supply lines at the faucet. Cap lines with tape if they drip.
- Unplug and free the disposal: Unplug it or switch off the breaker. Loosen the disposal collar and set it aside.
- Break the drain: Loosen slip nuts on the trap and tailpiece. Save the trap if clean, but plan on a new one.
- Cut the seal: Run a utility knife around the rim caulk or putty. Remove clips from below if present.
- Lift the sink: Push up from below. If stuck, use a putty knife at the rim. Lift straight up to avoid scratching the top.
- Clean the deck: Scrape off old putty or silicone. Wipe with mineral spirits, then dry.
This is the first hands-on part of how to replace a kitchen sink. Take it slow. Rushing here leads to chips or cabinet damage.

Source: youtube.com
Dry-fit and mount the new sink
Set the new sink into the opening to test fit. Check that the rim is flat and the faucet holes align. If it rocks, clean the deck again or use thin shims at clips.
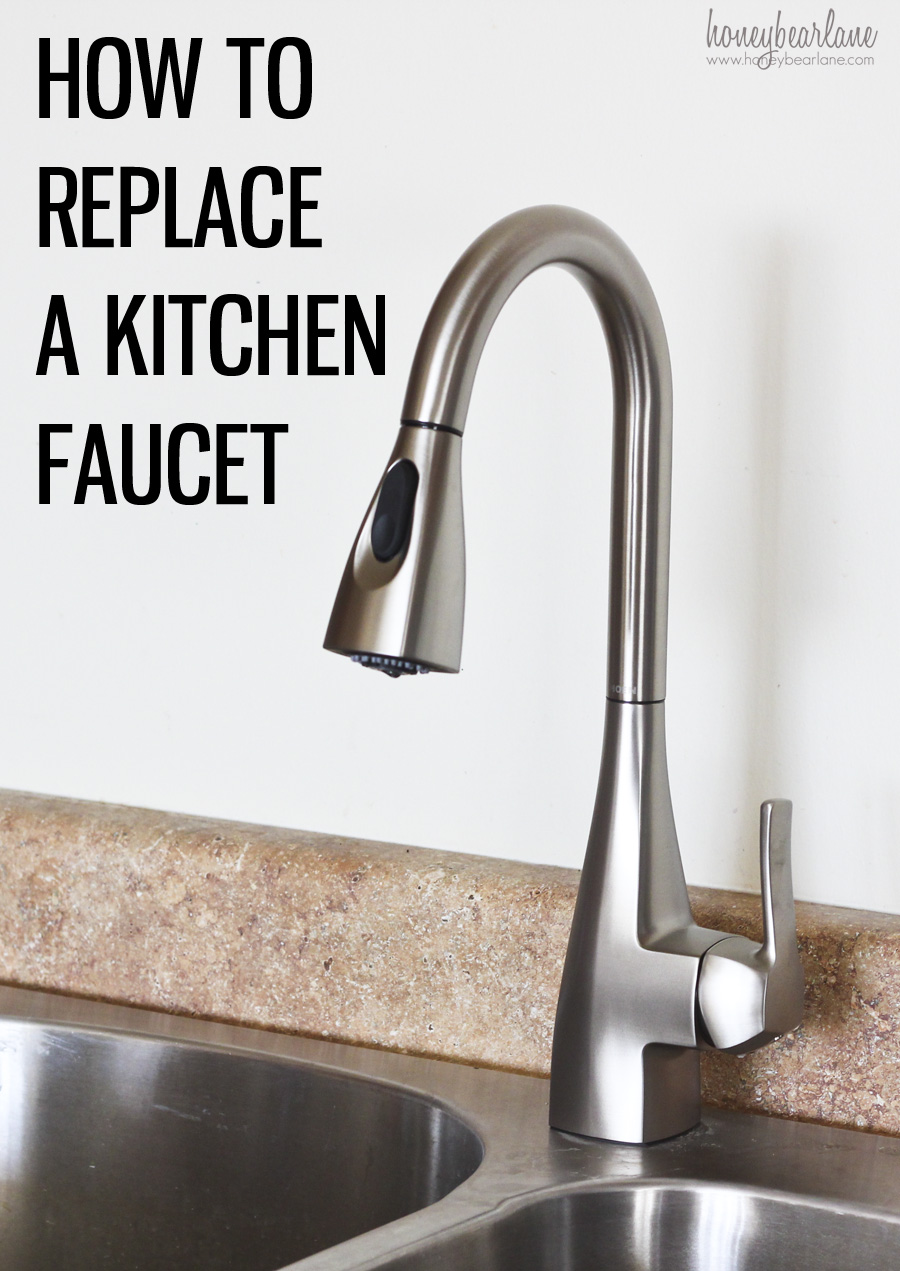
Pre-assemble parts while the sink is on a towel. Install the faucet, sprayer, and soap pump now. It is far easier to tighten nuts in the open than inside the cabinet.
Seal for the mount type:
- Top-mount: Run a thin bead of silicone under the rim or a rope of plumber’s putty if the maker allows. Set the sink, press evenly, and wipe squeeze-out.
- Undermount: Dry-fit clips and rails. Clean stone with alcohol. Run silicone under the rim. Lift and clamp with clips. Support bowls with sticks while silicone cures.
When learning how to replace a kitchen sink, this dry-fit step removes guesswork. You see problems before water comes back on.

Source: athomewithashley.com
Install the drain, disposal, and dishwasher connections
Start with the basket strainer. Roll plumber’s putty into a rope. Press under the strainer flange. Insert and hold the body from above. From below, add the gasket and nut. Tighten until putty squeezes out evenly. Trim the extra.
Attach the tailpiece to the strainer. If you have a disposal, mount its flange with the maker’s ring and screws. Lock the disposal on the collar. Connect the dishwasher hose to the disposal inlet. Knock out the plug first.
Build the P-trap. Dry-fit the trap, trap arm, and wall bend. Aim for a slight slope, about 1/4 inch per foot, toward the wall. Hand-tighten slip nuts. Do not cross-thread.
This is a key part of how to replace a kitchen sink cleanly. Tight, square joints mean no leaks later.

Source: youtube.com
Connect water lines and test for leaks
Wrap Teflon tape on faucet threads if needed. Hand-thread new braided supply lines at the faucet first. Then connect to the shutoffs. Do not over-tighten. Snug is enough.
Turn on valves slowly. Check each joint with a dry tissue. A wet spot shows a drip fast. Fill each bowl to the brim, then pull the stoppers. Watch the trap, disposal, and tailpiece as the water rushes out.
Run the dishwasher for a short cycle and spray the faucet at full swing. Move a flashlight over every joint. If you see a bead, tighten a quarter turn.
Learning how to replace a kitchen sink is also learning how to test like a pro. Water reveals the truth.
Source: homedepot.com
Seal, finish, and let it cure
Tool a small bead of silicone around the rim if top-mount. Smooth with a damp finger or caulk tool. Keep a clean rag handy. For undermounts, clean the squeeze-out under the rim.
Wipe the sink with warm soapy water. Remove stickers and any oil film. Let silicone cure per label. Four to 24 hours is common. Do not stress the sink until then.
If you used putty at the strainer, recheck after a day. Metals settle. A small snug often stops a weep. This finish phase locks in your work on how to replace a kitchen sink.

Source: youtube.com
Common mistakes and easy fixes
Cross-threaded slip nuts: If a nut spins but never tightens, back off and re-seat it. Hand-start, then snug with pliers.
Caulk gaps or smears: Tape both sides of the joint. Caulk, smooth, and pull tape at once. It leaves a crisp line.
Disposal shakes the sink: Check the mounting ring and support brackets. Add a support to the tailpipe if needed.
Trap does not align: Use a flexible tailpiece, but do not rely on flex hoses for the whole run. Cut hard pipe to length for a stable fit.
Funky smells later: Clean the trap and disposal with hot water and a little dish soap. Avoid harsh drain acids. They can eat gaskets.
Knowing these helps you master how to replace a kitchen sink without repeat trips under the cabinet.
Source: honeybearlane.com
Budget, timing, and when to call a pro
Typical DIY time is 3–6 hours for a drop-in swap. Undermounts take longer due to cure time. Add time if you replace valves or reroute drains.
Costs vary. A basic stainless sink runs modest. Premium composite or apron-front costs more. Add a faucet, strainer, trap kit, silicone, and new lines to your list.
Call a pro if you have a stone top that needs a new cut. Call for gas lines nearby, rotted cabinets, or missing vents. If you want to learn how to replace a kitchen sink but face these risks, a licensed plumber or fabricator is wise.
My field notes and pro tips
Pre-mount the faucet. This saves your back and makes tight nuts easy. It also helps you keep supply lines untwisted.
Mark clip spots with painter’s tape. You can see them from below and work faster. Keep fasteners organized in a small tray.
Use a headlamp. Dark cabinets hide leaks. Light shows the first drip at once. This habit has saved many wood floors.
Take a break after dry-fitting. Fresh eyes catch small misalignments. This pause pays off when you learn how to replace a kitchen sink for the first time.
How to replace a kitchen sink in a simple step list
- Turn off water and power, clear the cabinet.
- Disconnect supplies, drain, and disposal.
- Cut old seal, remove clips, lift sink.
- Clean the counter opening.
- Dry-fit the new sink and pre-mount faucet.
- Seal and set the sink, add clips.
- Install strainer and tailpiece.
- Mount disposal and dishwasher hose.
- Build the P-trap and align to code.
- Connect supply lines, turn on water.
- Stress test drains and lines.
- Tool final caulk and let it cure.
Keep this checklist near you. It is the backbone of how to replace a kitchen sink the right way.
Frequently Asked Questions of how to replace a kitchen sink
Do I need plumber’s putty or silicone under the basket strainer?
Most strainers use plumber’s putty for a watertight seal. Some makers specify silicone; follow the instructions on the product.
Can I reuse my old P-trap?
You can if it is clean and not brittle. I still suggest a new trap kit because fresh washers seal better.
How long before I can use the sink after sealing?
Wait 4–24 hours based on the sealant label. Do not stress an undermount until silicone has fully cured.
Do I need a permit to replace a sink?
Simple swaps usually do not need a permit. If you change drains, vents, or move lines, check your local code office.
Why does my new sink drain slowly?
Check for a blocked air gap or high loop issue. Also confirm the trap has the right slope and no debris in the tailpiece.
Can I install an undermount sink by myself?
Yes, if the countertop is solid and you have the right clips. Support the bowls and allow full cure time for silicone.
Conclusion
You now know how to replace a kitchen sink from planning to polish. With careful prep, clean seals, and patient testing, the job is well within reach. The result is a tighter, quieter, and better-looking work zone.
Ready to start? Grab the checklist, measure twice, and take it step by step. If a curveball pops up, pause and review the guide or call a pro. Share your progress, drop your questions, and subscribe for more hands-on home upgrades.
Pingback: What Is A Kitchen Witch: Meaning, Practices, 2026 Guide
Pingback: How To Get Rid Of Roaches In Kitchen: Step-By-Step Guide