
Press the Clock or Set Clock button, enter the time with +/− or numbers, then press Start.
If you have ever wondered how to change clock on GE stove, you are in the right place. I work with GE ranges often, and I know the small steps that trip people up. This guide shows exactly how to change clock on GE stove for old-school dials, touchpads, and WiFi models. You will learn the right buttons, simple fixes, and pro tips to make it stick the first time.

Before you start: identify your GE stove type
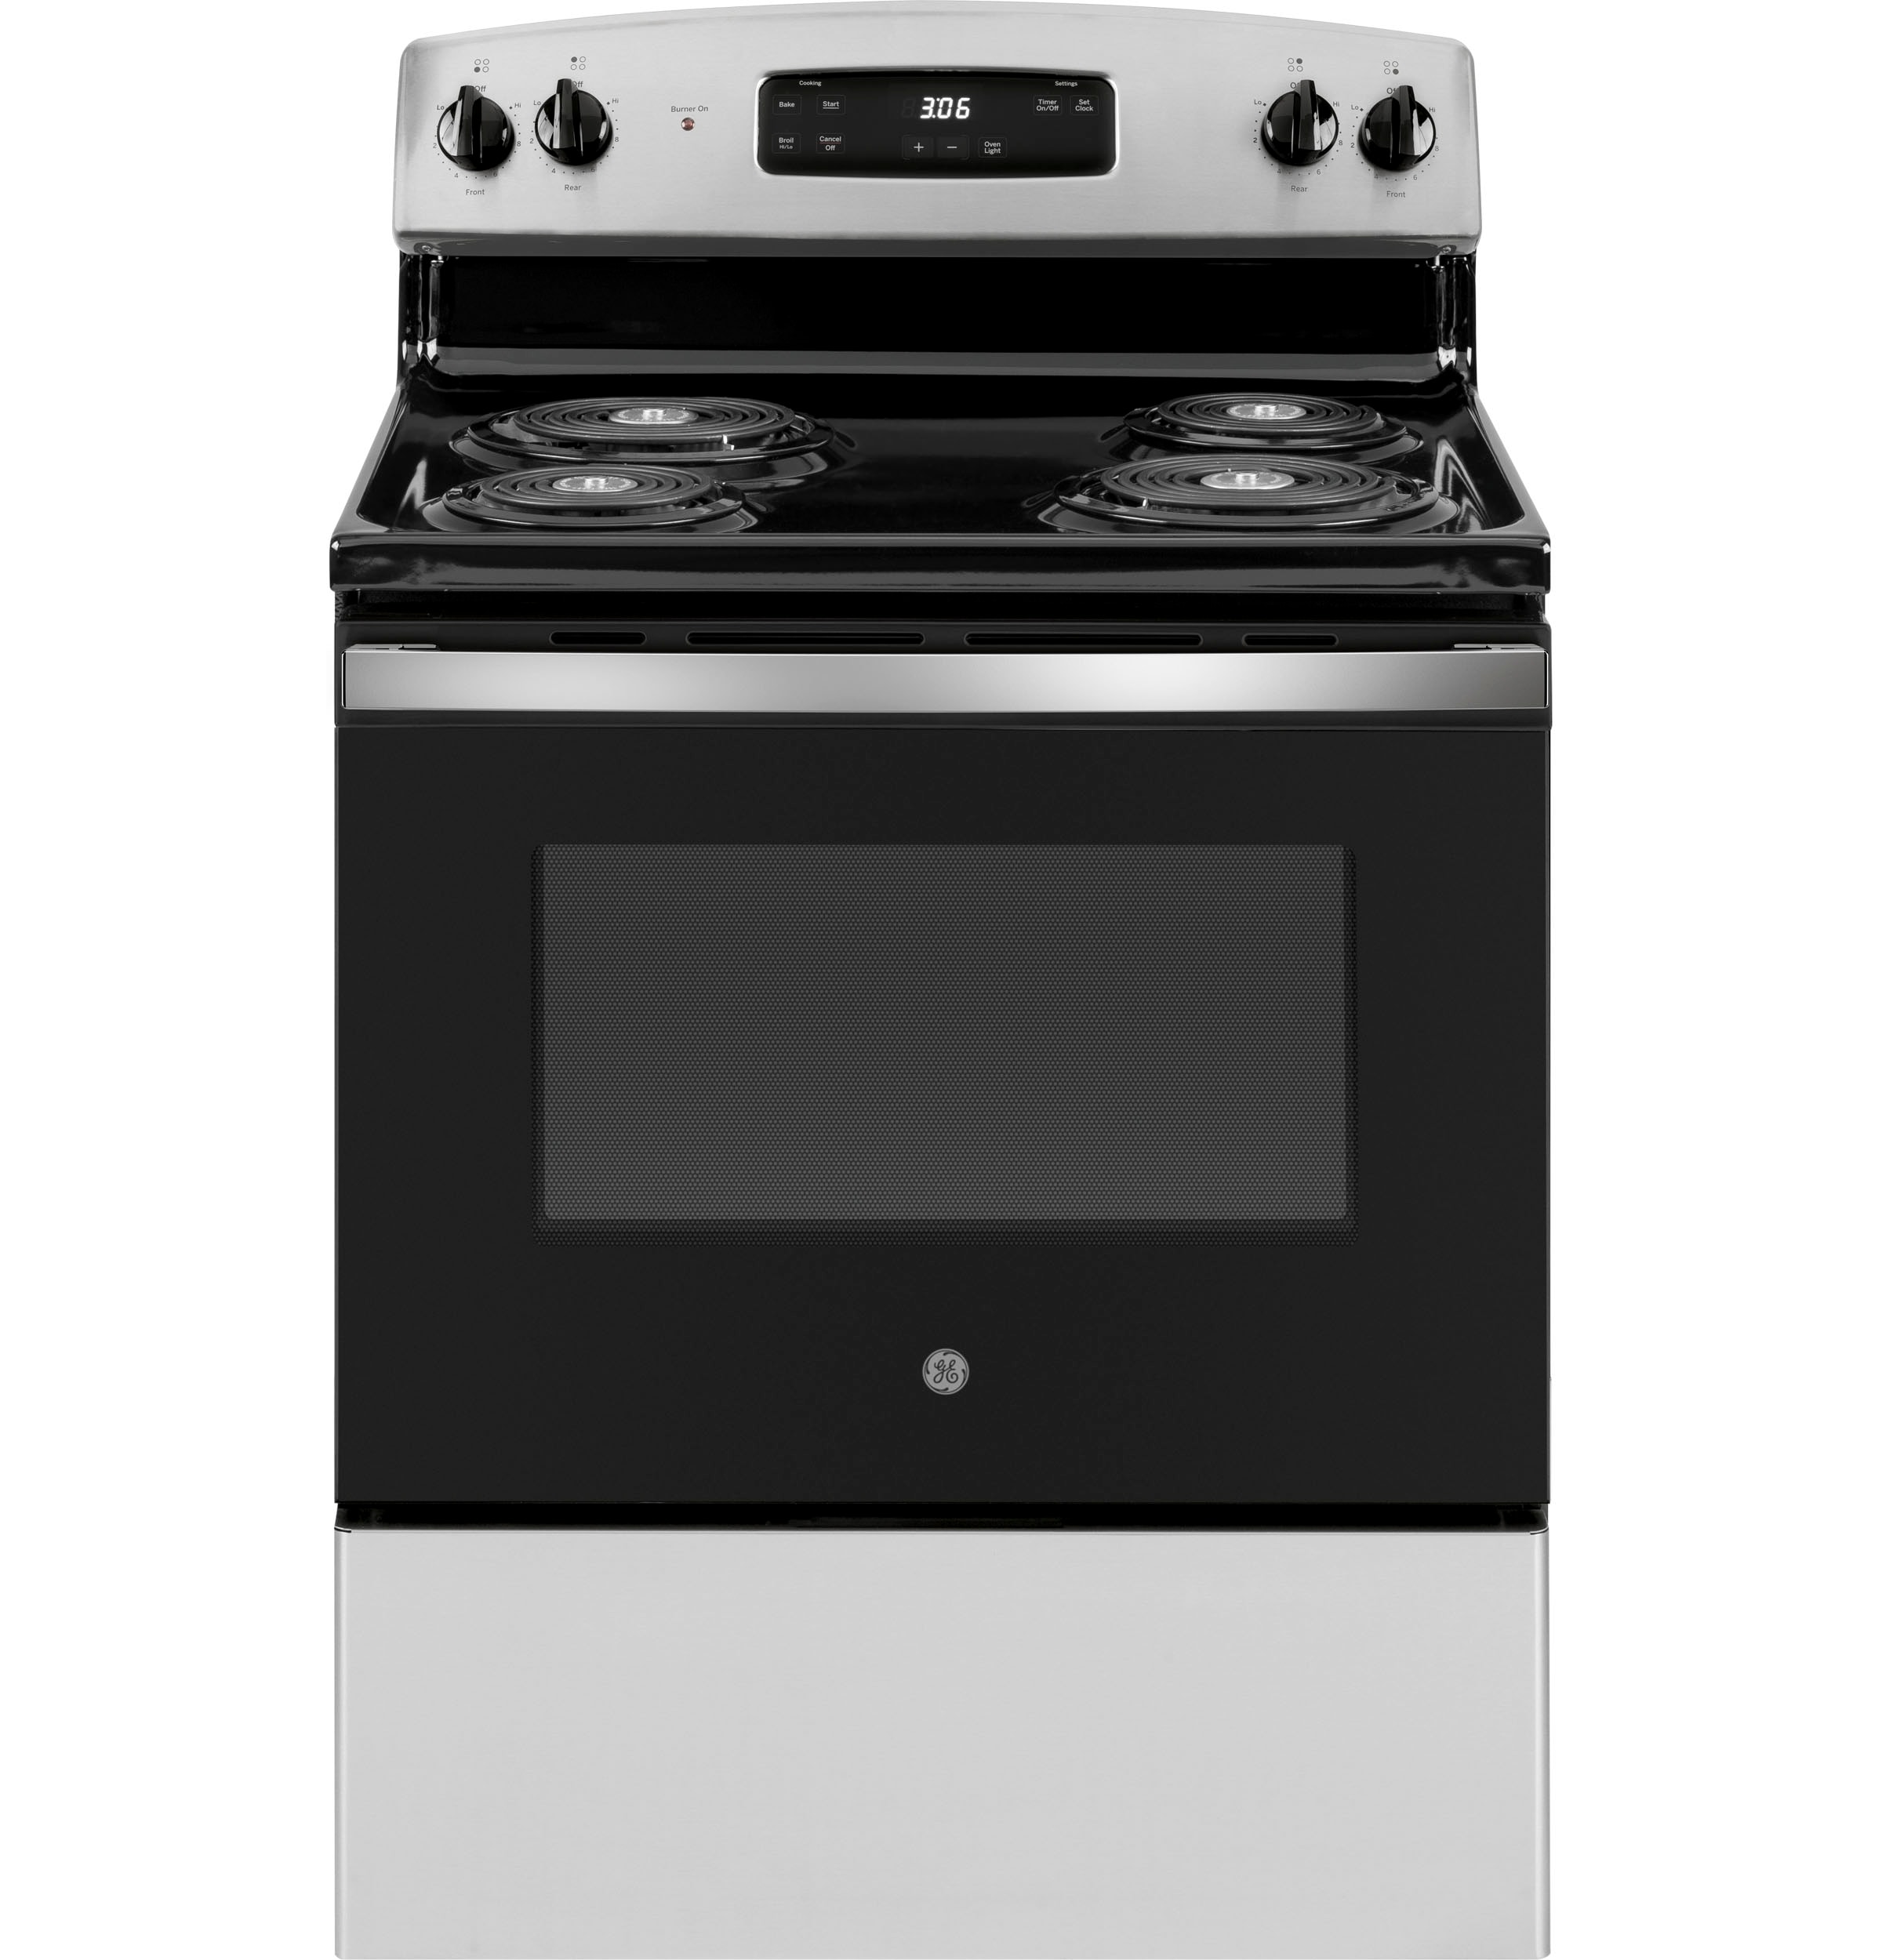
Your steps depend on the control panel. Look at the buttons and display. This helps you follow the right path for how to change clock on GE stove.
You will usually see one of these:
- A Set Clock or Clock button on a digital panel.
- A touch screen with a Settings menu.
- Plus and minus pads with no clock button.
- A small mechanical clock knob to pull and turn.
- A WiFi logo for SmartHQ app control.
Find your model number. It is on a tag behind the oven door frame or a drawer. This makes it easier to check the exact steps if needed.

Step-by-step: how to change clock on GE stove
Follow the method that matches your controls. Each one is simple. These are the most common ways for how to change clock on GE stove.
Models with a Clock or Set Clock button
- Press Clock or Set Clock once.
- Use number pads or +/− to set the time.
- Press Start or Set to save.
Pro tip: If it returns to the home screen without saving, press Start again. A quick press works better than a long press on some panels.
Touch screen models (GE Profile, Café, newer GE)
- Tap Settings or Menu.
- Tap Clock or Time.
- Set the time. Choose AM/PM or 24-hour if shown.
- Tap Save, Set, or Start.
On many touch panels, you can also change tone volume and daylight saving time from the same menu.
Models with + and − pads but no Clock button
- Press and hold + and − together for 3 seconds to enter clock set mode.
- Set the time with + and − or number pads.
- Press Start to save.
If + and − does not work, press and hold Settings or 0 for 3 seconds. Many GE ranges use one of these to open clock set mode.
Older models with number pads only
- Press Set Clock or press and hold 0 or 9 for 3 seconds.
- Enter the time with number pads.
- Press Start.
If your panel has Hour and Minute pads, press Hour and Minute to adjust, then Start.
Mechanical clock dials (vintage GE stoves)
- Find the small clock knob or shaft near the timer.
- Gently pull the knob out until it clicks.
- Turn to set the time. Push back in to lock.
Try not to force it. If it feels stuck, clean around the dial and try again.
SmartHQ app (WiFi-enabled GE ranges)
- Connect your range to WiFi using the user guide steps.
- Open the SmartHQ app and select your range.
- Go to Settings, then Clock or Time.
- Set the time and save.
This is helpful if your panel buttons are worn or slow to respond. It also keeps time in sync after power outages.
Personal note: On service calls, most clock issues come down to one thing. People forget to press Start at the end. Always hit Start to lock in the time.

Extra tips: daylight saving, 12/24-hour, power outage, and lock
These quick tips make how to change clock on GE stove smooth and repeatable.
Daylight saving time
- Many touch models have an Auto DST toggle in Settings.
- If not, change it manually with the normal steps in spring and fall.
12/24-hour format
- Look for a 12 hr/24 hr option in Settings or Special Features.
- If you do not see it, your model may not support 24-hour time.
After a power outage
- The clock may flash 12:00. That is normal.
- Set the clock again. If it keeps resetting, use a surge protector or have an electrician check the outlet.
Control lock or LOC showing
- If you see LOC or a lock icon, press and hold Lock Controls for 3 seconds.
- Then set the clock. Re-lock controls if you want to prevent changes.
Panel won’t respond
- Press Clear/Off, then try again.
- If still stuck, turn off power at the breaker for 1 minute, then restore and set the time.

Source: youtube.com
Troubleshooting: when the clock will not change
If you still need help with how to change clock on GE stove, try these fixes. These reflect common GE manuals and real service calls.
Nothing happens when you press Clock
- Press and hold for 3 seconds. Some models need that.
- Try Settings, 0, or + and − for 3 seconds to enter clock mode.
Buttons beep but time will not save
- Press Start or Set to confirm. Many models do not save until you do.
- Make sure you are not on Timer. Timer is not the same as Clock.
Display is dead
- Check the breaker and outlet. Make sure the range has power.
- If the oven works but the display is blank, the UI board may be faulty. A tech visit can confirm.
Clock gains or loses time
- Update via SmartHQ if supported.
- If drift continues on an older model, consider a low-cost plug-in timer clock in the kitchen as a backup.
You can set hours but not minutes
- Use +/− to adjust minutes after entering the hour.
- On some panels, you must enter all four digits (like 0-7-3-0 for 7:30).
Source: lowes.com
Maintenance and care for the control panel
Good care helps the clock and panel last. It also makes how to change clock on GE stove easier in the long run.
Cleaning tips
- Use a soft, damp cloth with mild soap. Wipe dry at once.
- Avoid spray cleaners on the panel. Spray the cloth, not the stove.
Prevent wear and tear
- Do not press hard on touch buttons.
- Keep liquids away from seams around the panel and knobs.
Saving your settings
- Avoid flipping the breaker often. That resets the clock.
- Use a surge protector if your area has frequent power dips.

Source: youtube.com
Frequently Asked Questions of how to change clock on ge stove
Why does my GE stove clock keep blinking 12:00?
It is a sign of a recent power loss. Set the time again, and consider a surge protector if it happens often.
How do I change to 24-hour time on my GE stove?
Open Settings, then find 12 hr/24 hr or Clock Format. If you do not see the option, your model may only support 12-hour.
Can I set the GE stove clock without the Start button?
Most models need Start or Set to save the time. If your model auto-saves, it will return to the home screen and show the new time.
What if my stove says LOC or shows a lock icon?
Your controls are locked. Press and hold Lock Controls for 3 seconds to unlock, then set the clock.
Does the timer change the clock time?
No. Timer counts down or up for cooking. Use Clock or Settings to change the actual time.
How do I change the clock on a GE Profile with a touch screen?
Tap Settings, then Clock or Time, set the time, and tap Save. You can also toggle 12/24-hour and daylight saving here on many models.
Can I use the SmartHQ app to set the time?
Yes, on WiFi-enabled models. Open the app, choose your range, go to Settings, and set the clock.
Conclusion
You now know how to change clock on GE stove on almost any model. Match the method to your panel, press Start to save, and check for locks or power issues if it fails. These small steps make your kitchen run on time.
Put this guide to work today. Set your clock, turn on Auto DST if you have it, and save yourself the next scramble at dinner. Want more simple kitchen fixes?
Pingback: Is Bathroom Sink Water Safe To Drink : Safety Facts & Tips
Pingback: How To Hang Kitchen Cabinets: Step-By-Step Guide 2026