
Mark stud lines, set a level ledger, hang uppers first, then level and anchor bases.
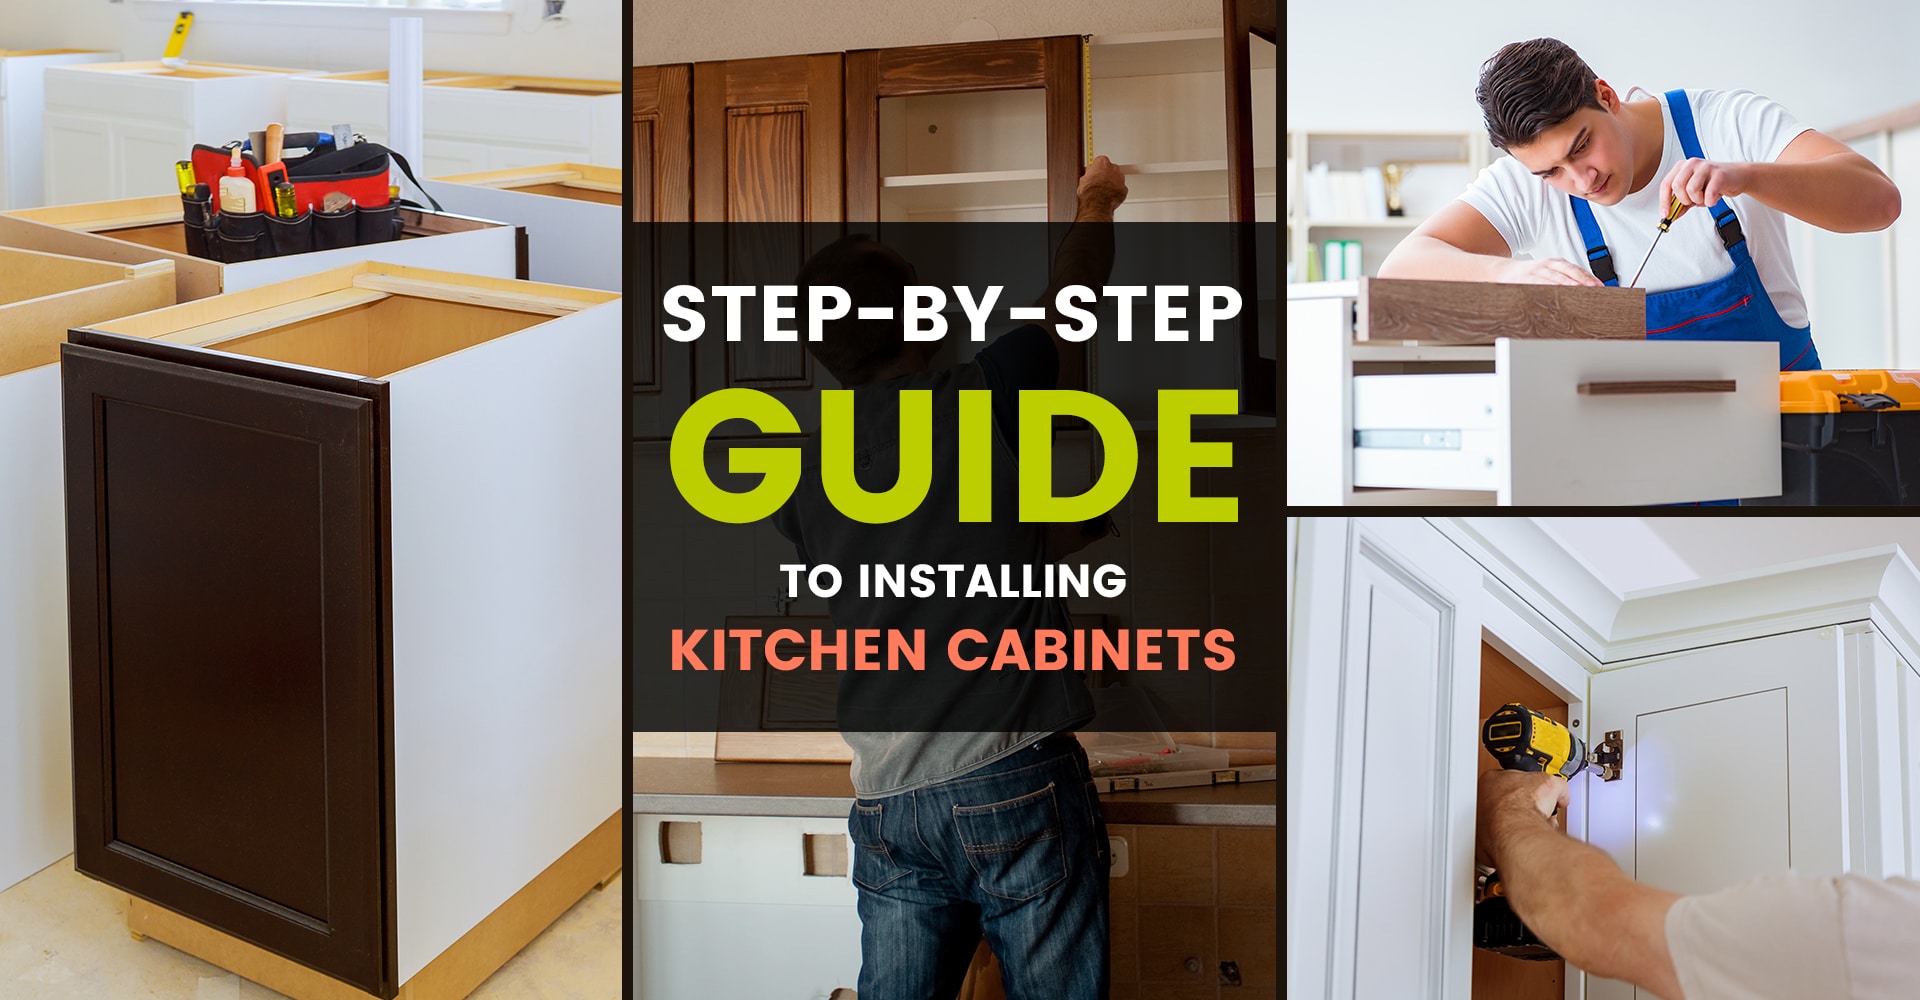
If you want to learn how to hang kitchen cabinets like a pro, you are in the right place. I have hung dozens of kitchens in tight rooms, old homes, and new builds. This guide shows how to hang kitchen cabinets step by step, with simple rules and real tips that save time, money, and stress. Read on, and you will finish with a straight, strong, and clean look that lasts.

Tools and materials you’ll need
Having the right gear makes the work smooth and safe. Lay it out before you start, and you will move fast. This also helps you plan how to hang kitchen cabinets without last-minute runs.
- Stud finder, tape measure, 4-foot level, laser level, framing square
- Painter’s tape, pencil, note cards, and a notepad
- Impact driver and drill, drill bits, countersink bit
- Cabinet screws or structural screws rated for cabinets
- Clamp set, cabinet jacks or T-braces, and a temporary ledger board
- Shims, pry bar, mallet, and a block of wood
- Safety glasses, hearing protection, gloves, and dust mask
- Caulk, wood filler, touch-up kit, and finish nails
Plan, measure, and mark layout
Good layout is half the job. Start by marking the finished floor height and the base cabinet top line at 34.5 inches for standard bases. Add the countertop thickness to mark the bottom line of the wall cabinets. I always write these lines on painter’s tape for clean marks that peel off later.
- Find the high spot of the floor. Base cabinets must sit level to that point.
- Mark centers for sink, range, and hood. Plan clearances and fillers now.
- Dry-fit a few boxes on the floor to visualize reveals and door swings.
This prep step defines how to hang kitchen cabinets the right way, with no surprises.
Prep the walls and find solid structure
Walls are rarely flat or square. Note any bows and dips now. Use a straightedge to check the wall and note problem spots. Then locate studs and mark them from floor to ceiling. I also run blue tape on each stud and label it S for speed.
- Typical studs are 16 inches on center. Always verify.
- Avoid electrical and plumbing lines when drilling.
- If walls are out of plumb, plan to shim cabinets and scribe fillers.
This makes how to hang kitchen cabinets safe, fast, and secure.

Hang upper cabinets first: step-by-step
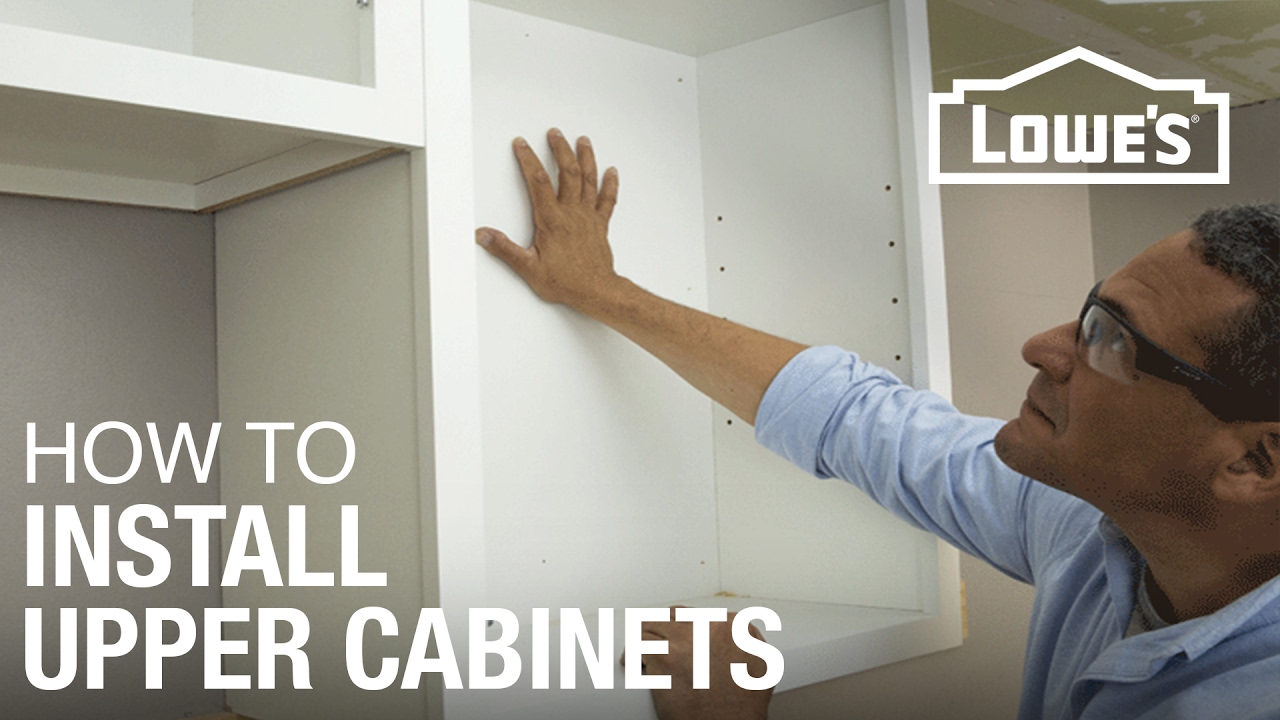
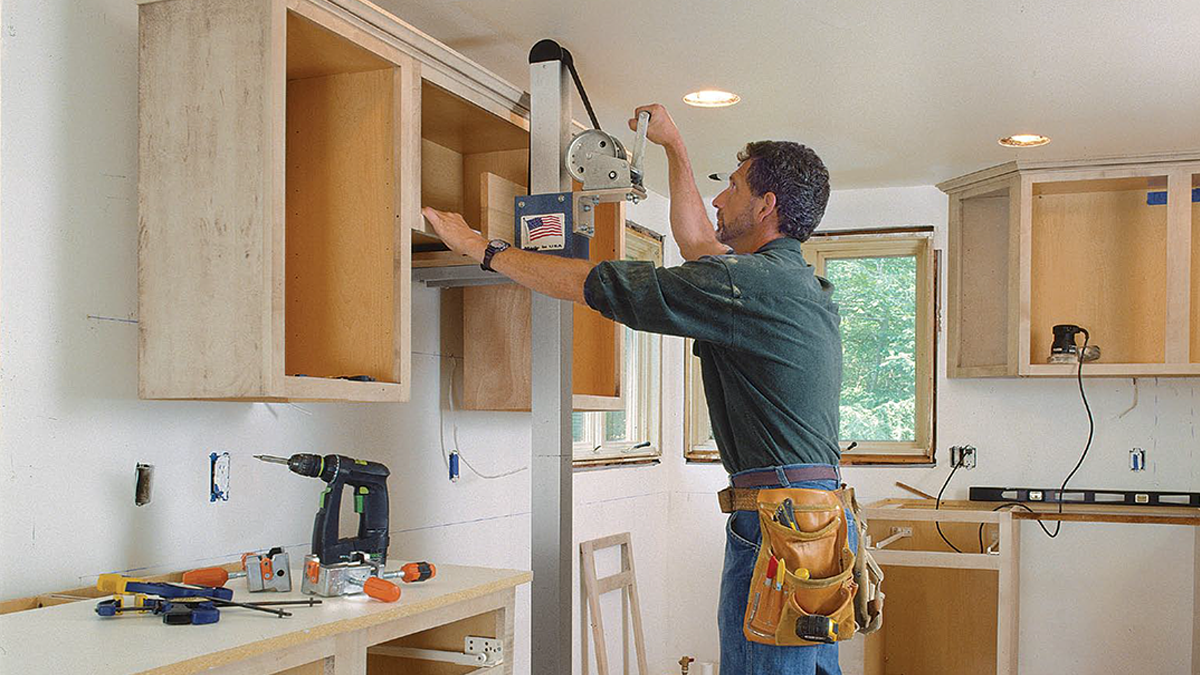
Uppers go first so bases do not block your work. Use a straight ledger board screwed into studs along the bottom line of the wall cabinets. This holds weight while you align and fasten.
- Remove doors and shelves. Label every door and hinge spot.
- Start at a corner or with the most visible cabinet run.
- Lift the first cabinet onto the ledger. Clamp to the next cabinet or a T-brace.
- Check level and plumb. Shim behind the box if the wall bows.
- Drive two cabinet screws through the thick rail into studs. Pre-drill to avoid splitting.
- Add more screws into each stud. Keep the face frame flush across cabinets.
On my first big kitchen, I skipped the ledger. Never again. The ledger is the calm hand that keeps uppers steady while you think through how to hang kitchen cabinets with care.
Level, clamp, and join cabinets
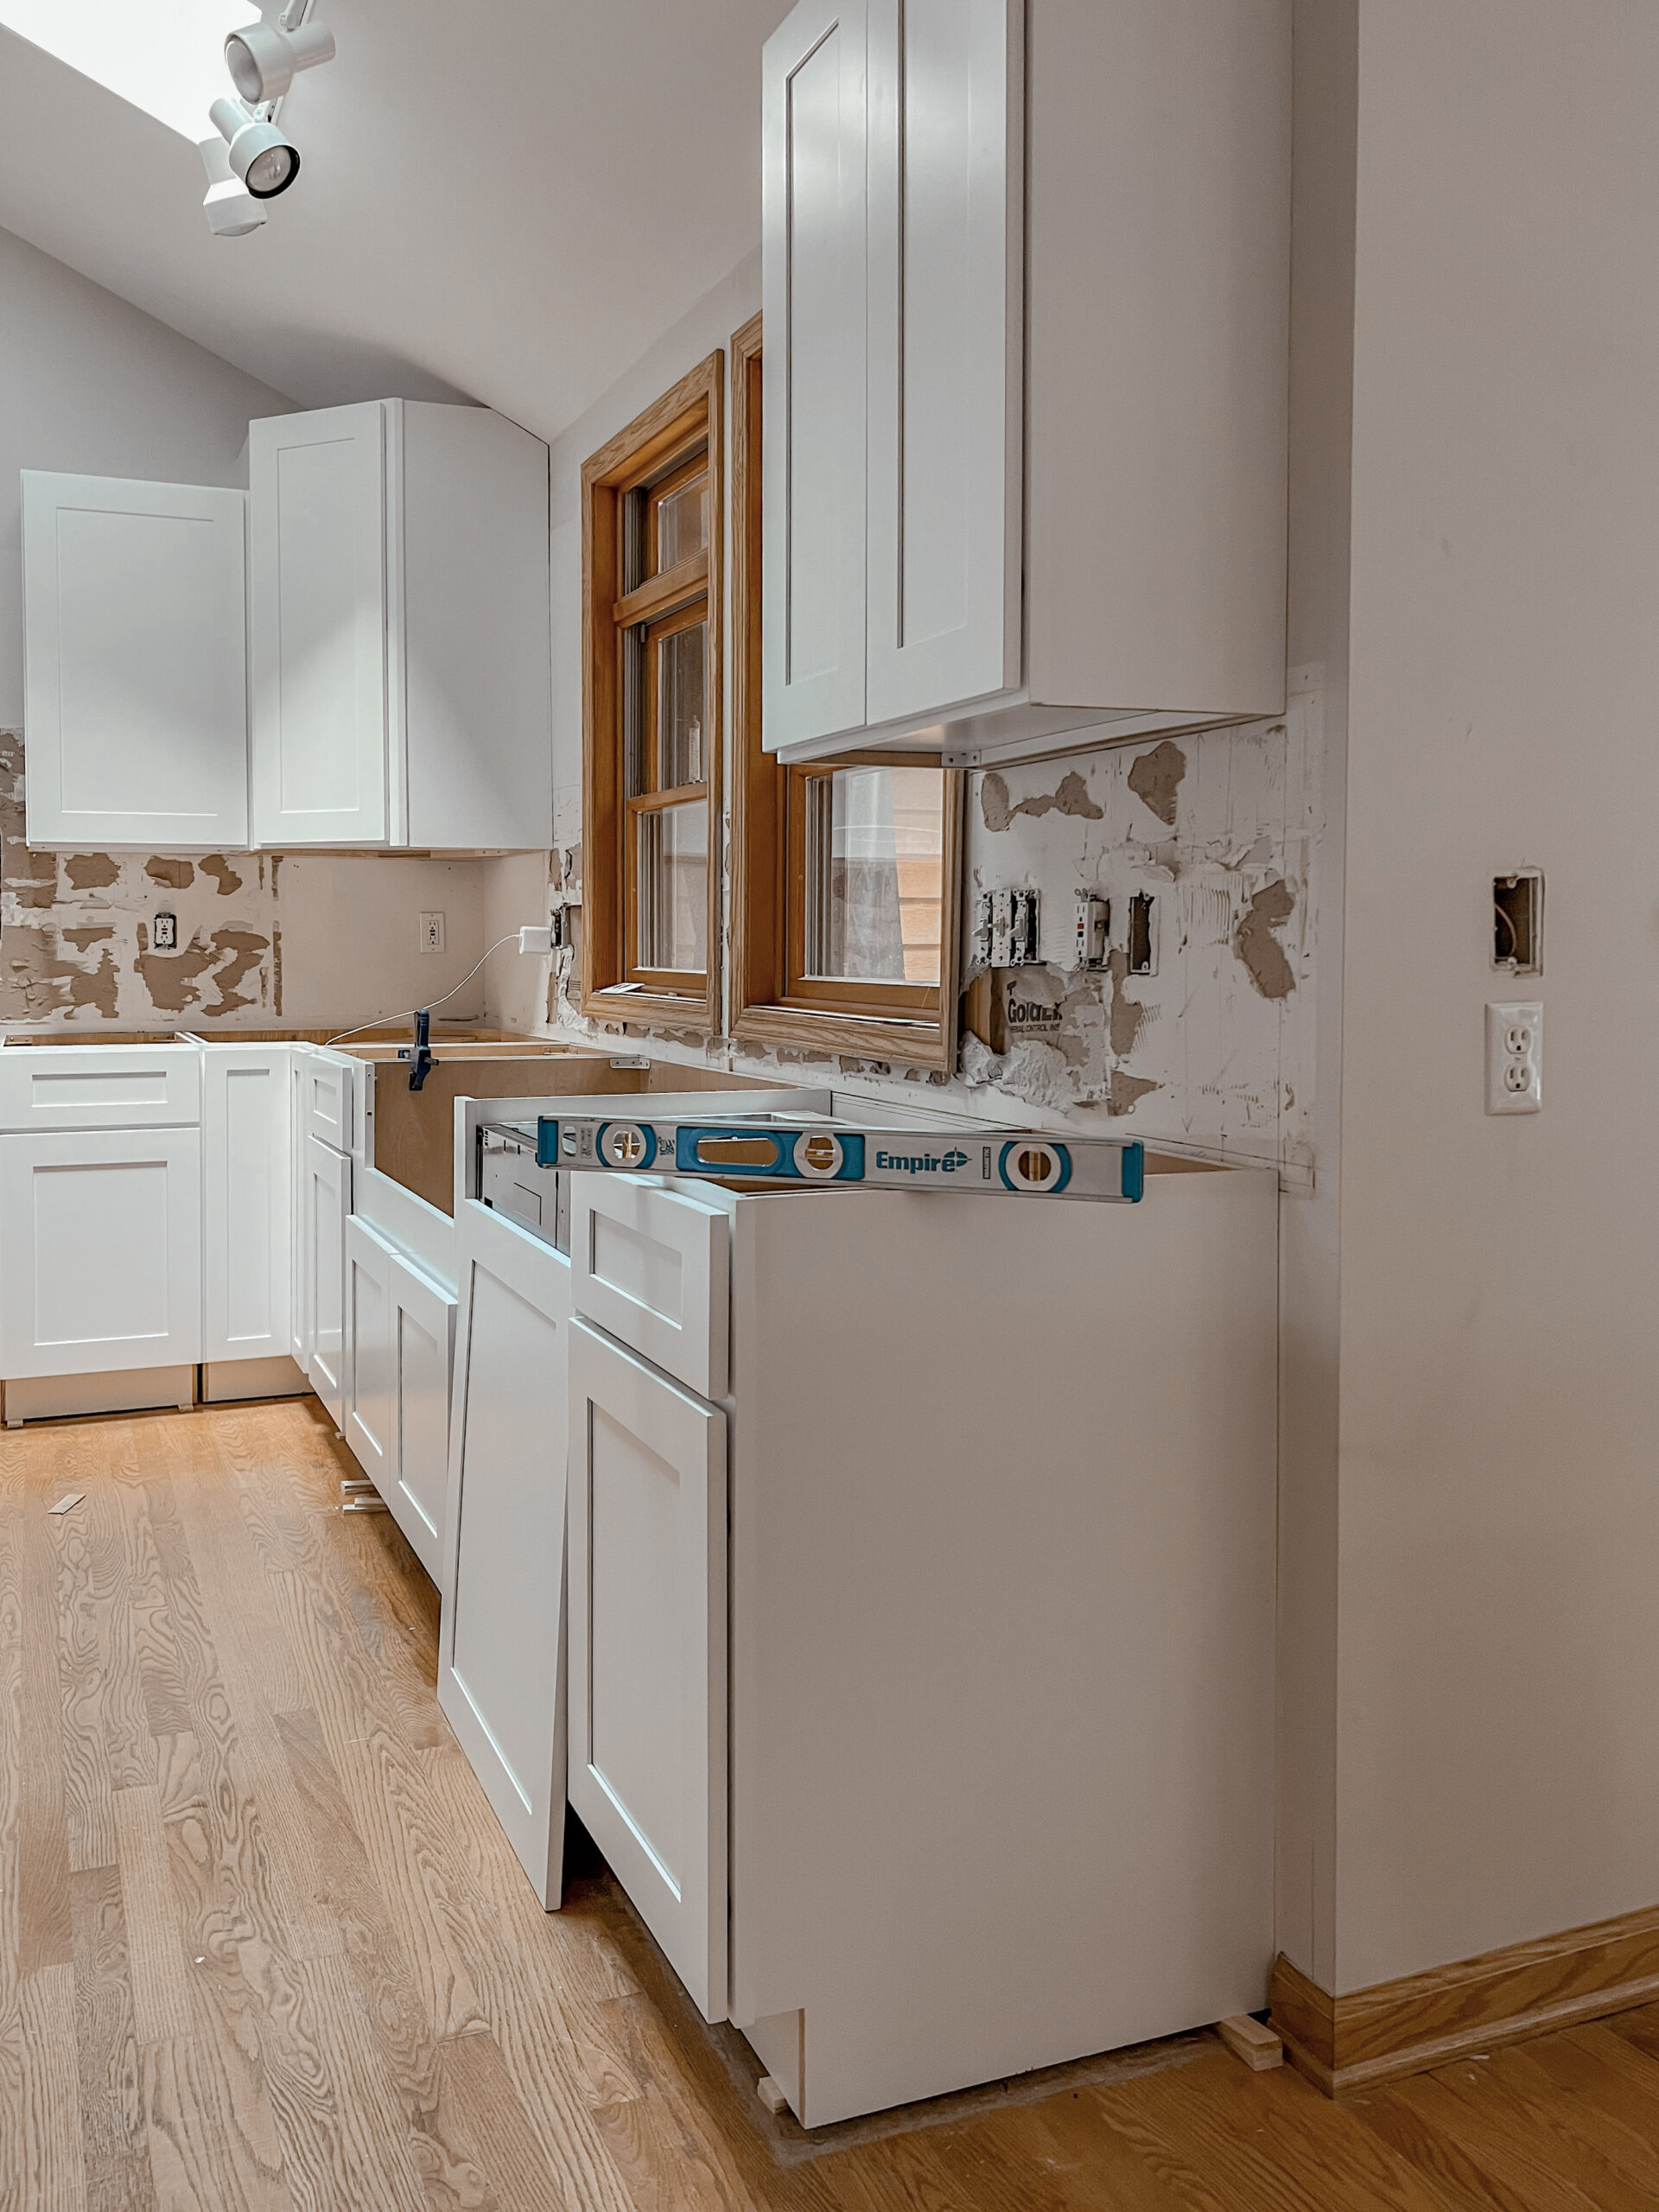
Clean seams look pro. Before final screws, clamp face frames or box sides. Use a countersink bit to pre-drill and pull faces tight with trim-head screws.
- Check level across the tops and bottoms after each box.
- Recheck plumb on the ends and at corners as you go.
- Use a straightedge across faces to keep a flat, even plane.
This is the moment where how to hang kitchen cabinets turns from “up on the wall” to “built-in and smooth.”

Install base cabinets: step-by-step
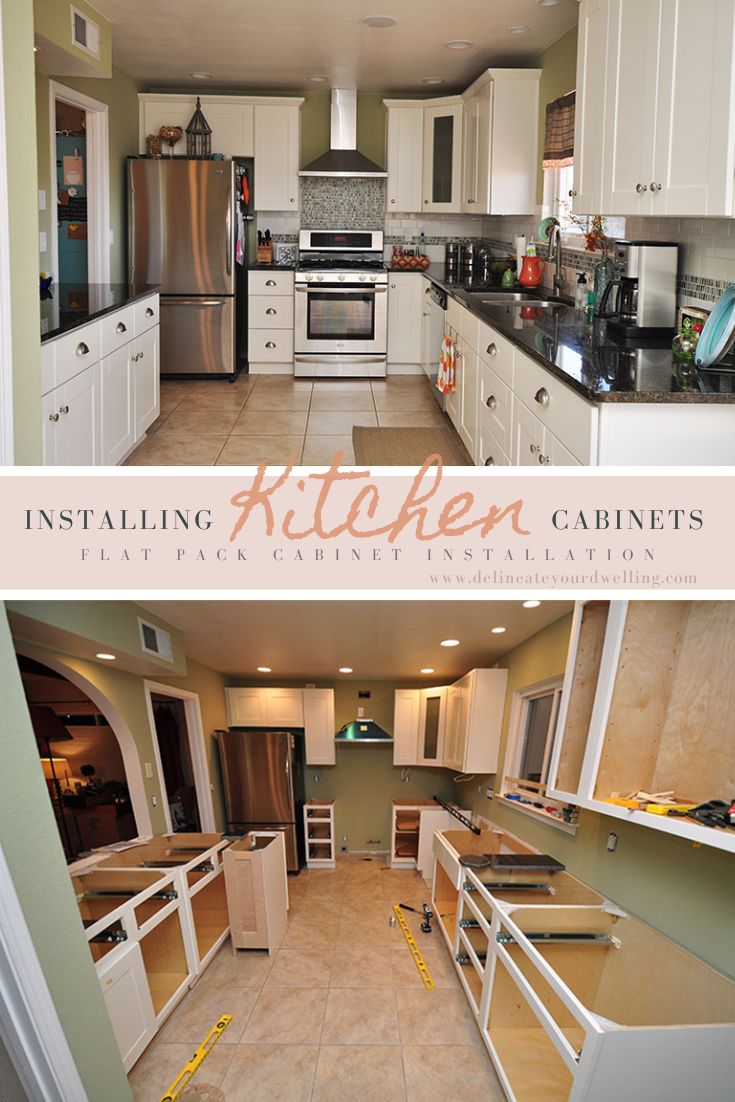
Bases set the tone for your counters. Work from the high spot of the floor and build a level line.
- Snap a level line for the cabinet tops at 34.5 inches.
- Set corner cabinets first. Shim under the bottoms to hit the line.
- Check level front to back and side to side. Shim as needed.
- Join cabinets with clamps and screws. Keep fronts flush.
- Anchor into studs through the back rail with cabinet screws.
Take your time. I once rushed this stage and had to call the stone shop back to re-template. Small gaps at the base can snowball later. A slow hour here saves a full day later when you think about how to hang kitchen cabinets the smart way.
Scribe fillers, panels, and trim
Walls are not perfect, so fillers and panels hide gaps. Use a compass to trace wall waves to the filler. Cut to the line with a jigsaw, then sand for a tight fit.
- Install end panels flush with doors for a clean shadow line.
- Leave even reveals around appliances and walls.
- Caulk small gaps at walls. Use color-matched putty for nail holes.
This detail work separates good from great when you plan how to hang kitchen cabinets that look custom.
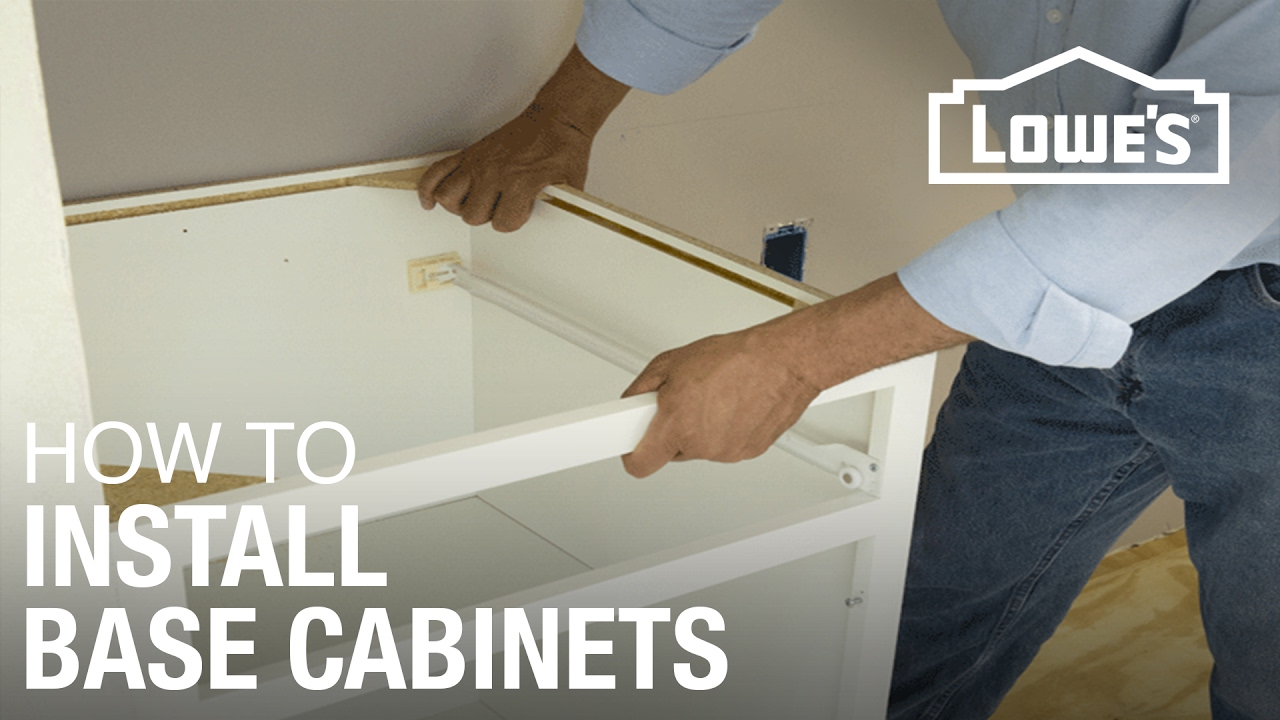
Door and drawer adjustments
Most hinges have three-way adjust. Use small turns and test each time. Align doors to even gaps and straight lines.
- Adjust up and down to match heights.
- Adjust in and out to set the door plane.
- Adjust side to side to tune the reveals.
Finish by adding bumpers, soft-close parts, and shelf pins. A few minutes here makes a big daily difference.
Safety, codes, and anchoring best practices
Cabinets hold a lot of weight. Use the right screws and hit structure. For wood studs, I use 2.5 to 3 inch cabinet screws into the top and bottom rails. For masonry, use anchors rated for shear and pull-out loads.
- Verify GFCI at counter outlets where required.
- Keep code clearances over ranges and cooktops.
- Never anchor only to drywall. Always hit studs, blocking, or a rated rail.
These rules are core to how to hang kitchen cabinets that stay tight for years.
Time, cost, and when to hire a pro
A small galley can take one long day for a skilled DIYer. A large kitchen may take two to three days with trim. Budget for shims, screws, touch-up, and any special hardware.
- Hire a pro if walls are very out of plumb, or for tall pantry installs.
- Call in help for stone support rails or if you need load-rated blocking.
- If you fear hidden wires or pipes, get a licensed check first.
Smart calls here reduce risk and keep the project fun.
Common mistakes to avoid
I have made a few of these once. Never twice.
- Skipping the ledger for uppers. This leads to sag and stress.
- Not finding the floor high spot. Bases then climb or dip.
- Driving screws without pre-drill. This can split frames or push boxes off level.
- Ignoring reveals at walls and appliances. Doors will rub and lines will look off.
- Forgetting to remove doors. It adds weight and makes fine work hard.
Keep this list close as you plan how to hang kitchen cabinets in any room.
Troubleshooting and pro tips
Even with a plan, surprises pop up. These quick fixes help.
- Bowed wall behind uppers: Shim between rail and stud. Keep the face true.
- Studs off layout: Add a French cleat or steel rail rated for cabinets.
- Corner out of square: Scribe the filler or use a wider scribe stile.
- Heavy pantry tilt: Use cabinet jacks and two people. Anchor high first.
Pro tip I love: Label every box and bag of hardware. Future you will say thanks when you revisit how to hang kitchen cabinets for a friend.
Frequently Asked Questions of how to hang kitchen cabinets
Do I hang wall or base cabinets first?
Hang wall cabinets first. You will have room to work, and you will not damage new bases.
What screws should I use to hang cabinets?
Use 2.5 to 3 inch cabinet or structural screws. Drive through the cabinet rails into studs for a strong hold.
How do I find studs if the finder is not clear?
Use small pilot holes to confirm after marking with a stud finder. Look for nails in baseboards and measure from corners to guess standard layout.
Can I hang cabinets on drywall alone?
No. Drywall cannot hold the load. Always fasten into studs, blocking, or a rated rail system.
How many screws per cabinet are enough?
Hit at least two studs with two screws each when possible. Add more where the manufacturer suggests or where loads are high.
What is the right height for wall cabinets?
Standard is 18 inches above the countertop. Some designs use 20 to 22 inches for tall appliances or a modern look.
Should I remove doors before hanging?
Yes. It makes cabinets lighter and protects the finish. Label each door and hinge to speed reassembly.
Conclusion
You now know how to hang kitchen cabinets from layout to last touch. Plan your lines, use a ledger, hit studs, and adjust for clean reveals. Take it slow, check level often, and your kitchen will look straight and feel solid.
Ready to start? Pick one wall, gather tools, and set your first marks today. If this helped, subscribe for more step-by-step home guides, or leave a comment with your toughest cabinet question.
Pingback: How To Make Oak Kitchen Cabinets Look Modern: Chic Updates
Pingback: What Is A Commissary Kitchen: Benefits, Costs & Uses