
Replace the aerator by unscrewing the tip, swapping the insert, and reattaching.
If your sink spits, dribbles, or wastes water, this guide is for you. I’ll walk you through kitchen faucet aerator replacement with clear steps, pro tips, and real fixes I use in the field. By the end, you’ll know the parts, the sizes, and the method to do it right the first time.
What a Faucet Aerator Does and Why Replacement Matters
A faucet aerator mixes air with water. That softens the stream and saves water. It also filters small grit and reduces splash. When it clogs or wears out, you feel it at once.
Kitchen faucet aerator replacement restores smooth flow and better pressure. It can also cut water use by 20–30% without hurting performance. Many modern aerators are rated around 1.5–1.8 gpm for kitchens. That balance suits rinsing, cleaning, and filling pots.
From years of house calls, I see the same pattern. People try to fix low flow at the shutoff valves. The real fix is often a simple aerator swap. It is fast, cheap, and very effective.

Signs You Need Kitchen Faucet Aerator Replacement
You do not need to guess. Your faucet will send clues. Watch for these common signs that point to kitchen faucet aerator replacement:
- Weak flow even with valves fully open
- A crooked stream or heavy side spray
- Water shooting in many directions
- Grit, black flakes, or rust in the tip
- A drip or leak from the spout tip
- Loud hiss or whistling from the aerator
If cleaning helps for a week and the problem returns, the screen may be worn. In that case, kitchen faucet aerator replacement is the lasting fix.
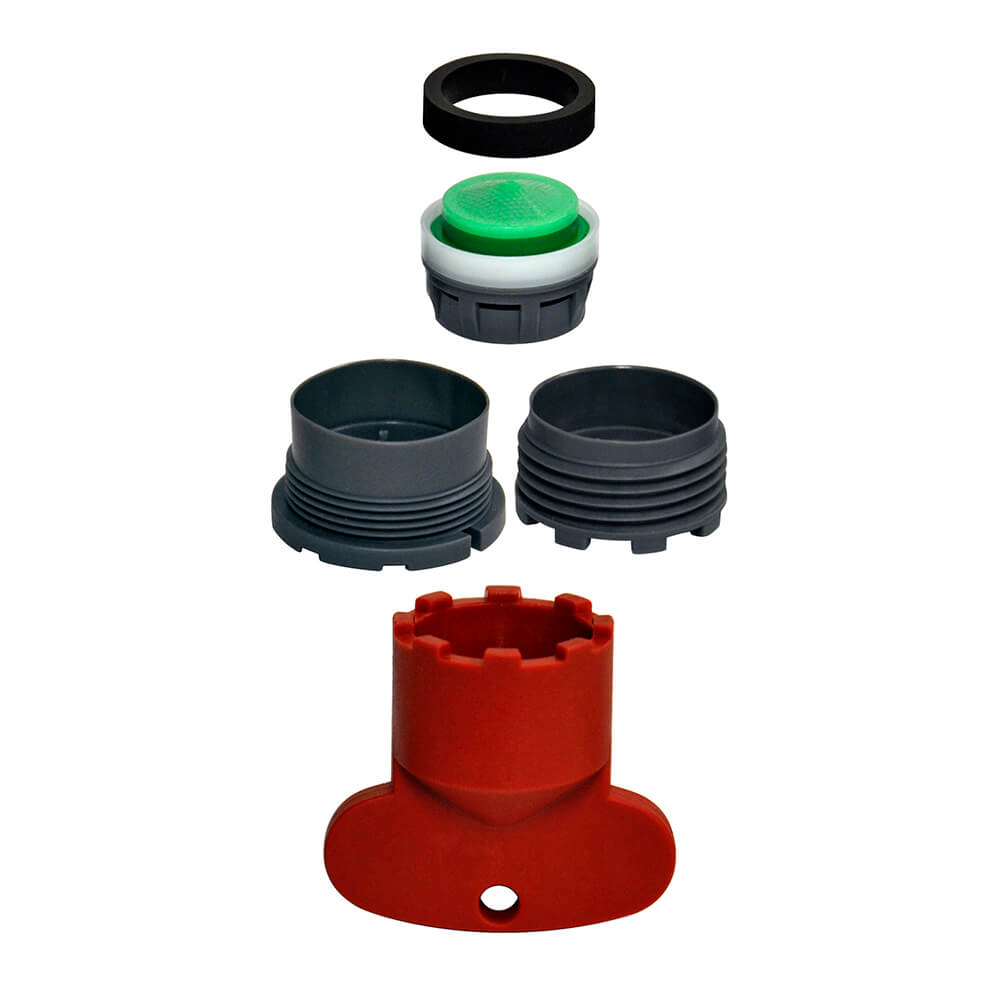
Tools and Parts You Will Need
You only need a few items for most jobs. Gather them before you start:
- New aerator or insert that fits your faucet model and size
- Soft cloth or painter’s tape to protect the finish
- Adjustable wrench or small pliers for stubborn parts
- Rubber jar opener or glove for grip
- White vinegar for mineral removal
- Silicone faucet grease for the washer (optional)
- Cache aerator key if you have a hidden (recessed) style
- A small brush or old toothbrush
You rarely need thread tape for an aerator. The rubber washer makes the seal. If threads are worn, use a tiny bit of tape, but only as a last resort.

How to Identify Your Aerator Type and Size
Picking the right part is half the job. Here is how to know what you have before kitchen faucet aerator replacement:
- External vs. cache
- External aerators screw onto the outside of the spout and are visible.
- Cache (hidden) aerators sit inside the spout and need a special key.
- Male vs. female threads
- Male threads show on the aerator body. They screw into a spout with inside threads.
- Female threads are inside the aerator. They screw onto a spout with outside threads.
- Common sizes
- 15/16-27 male and 55/64-27 female are the most common in the US.
- Some brands use metric sizes like M24x1, M21.5×1, M18.5×1, or M16.5×1 for cache types.
- Flow rate and markings
- Most aerators list flow in gpm on the side, like 1.8 gpm.
- Kitchen models often range from 1.0 to 2.2 gpm. Choose based on your needs and local codes.
Tip: Remove your old aerator and take it to the store. Match threads and diameter right on the shelf. Many home centers have sizing gauges to help.
:max_bytes(150000):strip_icc()/RemovingAeratorAssembly-99881d30169b43cebc3fe72f6d4b25b9.jpg)
Step-by-Step Kitchen Faucet Aerator Replacement
Follow these steps to swap your aerator with care. I use this same process on service calls.
- Prepare the area
- Plug the sink drain so nothing falls in.
- Wrap the spout tip with a cloth to protect the finish.
- Remove the old aerator (external type)
- Try by hand first. Turn left (counterclockwise).
- If it is stuck, use a rubber jar opener for grip.
- Still stuck? Use pliers over a cloth. Turn slowly to avoid marring.
- Remove the old aerator (cache type)
- Look up into the spout.
- Insert the correct cache key and turn left.
- Lower the insert and note the order of parts.
- Clean the threads and seat
- Soak the old aerator in warm vinegar for 30–60 minutes to free scale.
- Brush the spout threads and seat. Rinse well.
- Prep the new aerator
- Make sure the rubber washer sits flat.
- Add a tiny dab of silicone grease to the washer if you have it.
- Install by hand
- Thread the aerator by hand first to avoid cross-threading.
- Turn until the washer touches, then snug a bit more.
- Do not over-tighten. Hand-tight is enough in most cases.
- Test and fine-tune
- Run cold, then hot. Check for leaks.
- If it drips, snug a touch more.
- If the stream leans, reseat the washer or re-thread.
You are done. That is kitchen faucet aerator replacement the right way, without damage or drips.

Troubleshooting and Fine-Tuning After Replacement
If the stream is still weak, do not panic. A few checks often solve it fast. Here is my quick flow chart for post–kitchen faucet aerator replacement tune-up:
- Low flow with a new aerator
- Remove and rinse it. Debris can break loose during install.
- Open and flush both supply valves fully.
- Check the faucet cartridge screen if your model has one.
- Leaks at the spout tip
- Inspect the rubber washer. Flip or replace if nicked.
- Re-thread by hand to avoid cross-threading.
- Loud hiss or spray too strong
- Choose a higher gpm aerator if you picked an ultra-low-flow unit.
- Ensure the flow straightener inside is oriented as designed.
Important note: Do not remove the flow restrictor. It can violate local rules, raise bills, and cause harsh spray. Choose the right rated aerator instead.
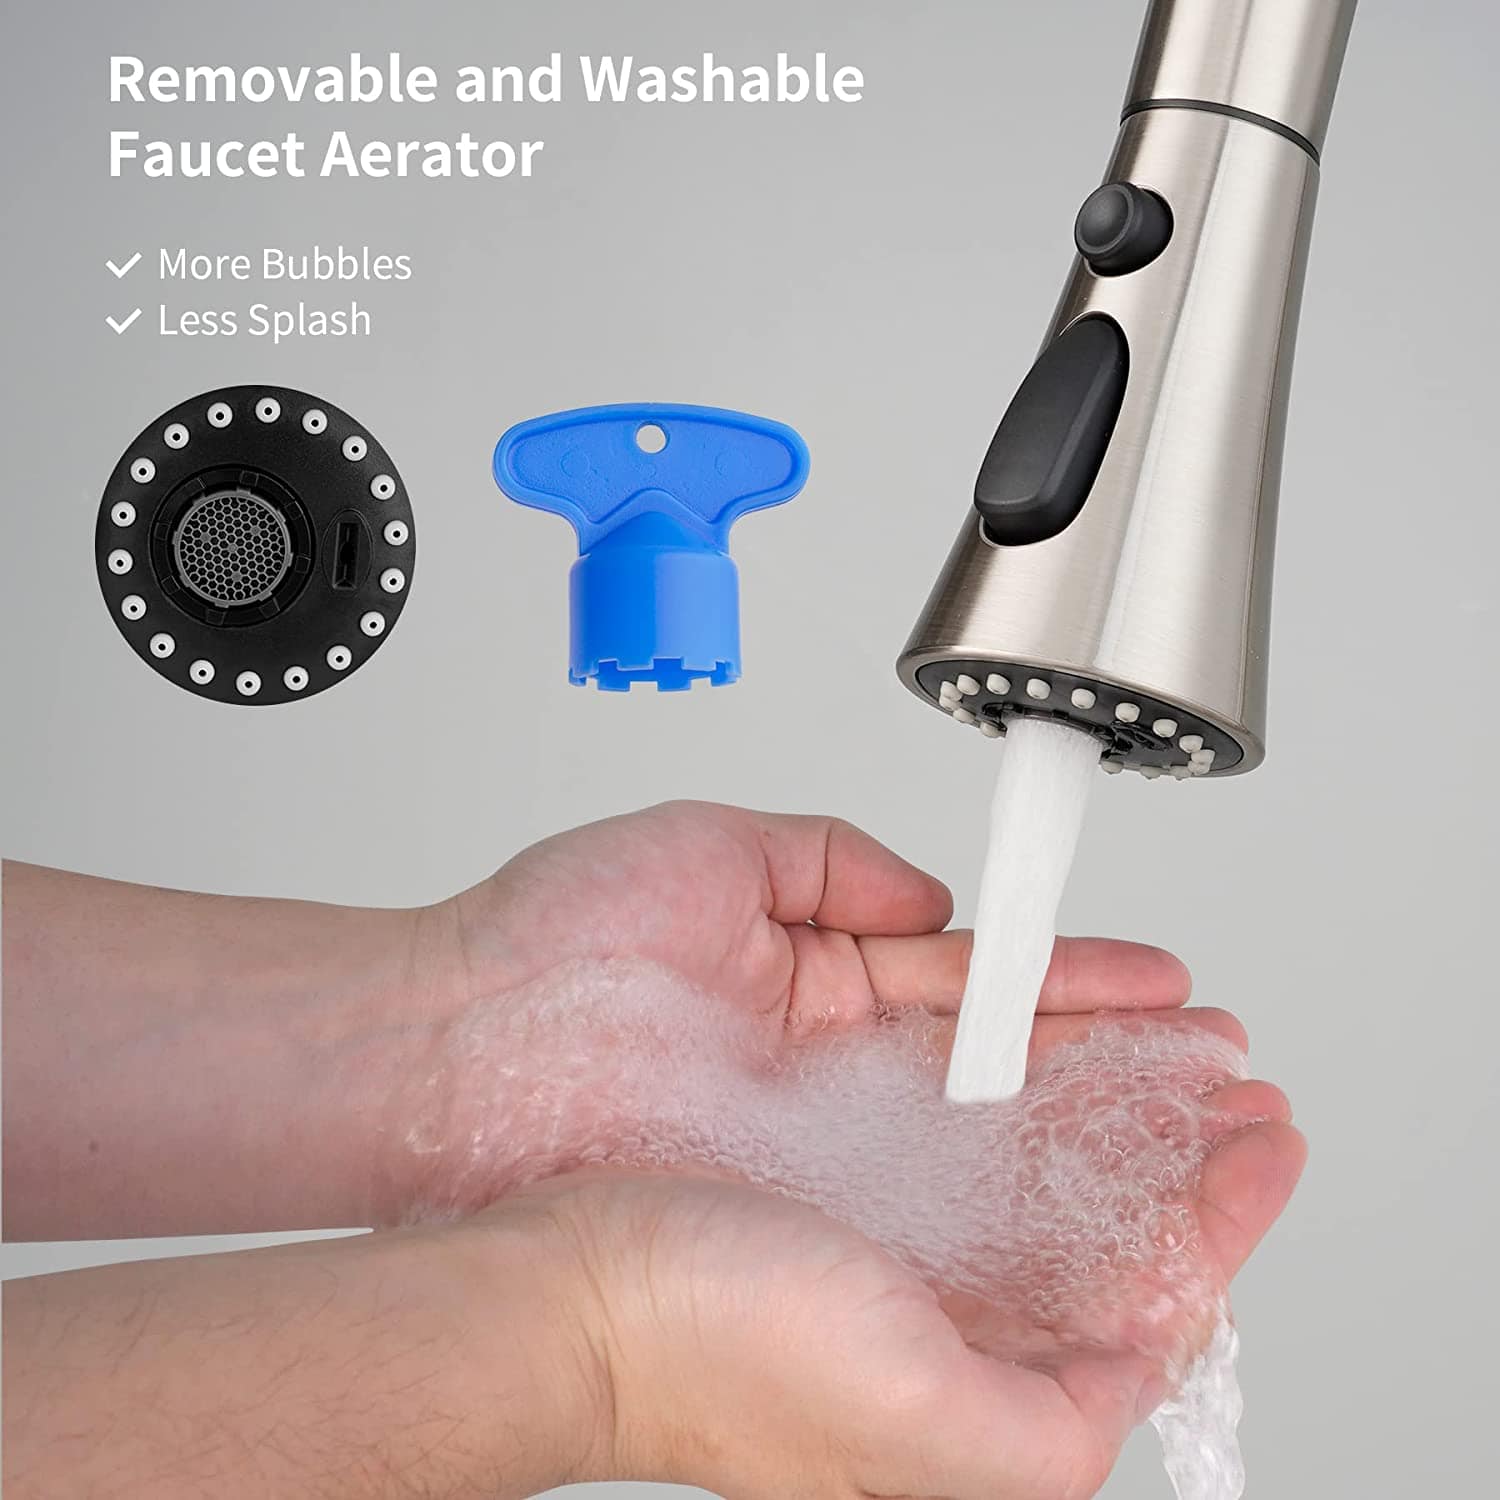
Maintenance and Cleaning to Extend Life
A little care goes far, especially in hard water areas. This routine keeps your faucet happy and can delay kitchen faucet aerator replacement:
- Every month
- Unscrew and rinse the screen.
- Brush off grit and re-install.
- Every 3–6 months
- Soak the aerator in warm vinegar for 30–60 minutes.
- Rinse well and reassemble.
- Yearly
- Inspect the washer and screen.
- Replace the aerator if scale, pitting, or worn threads appear.
Avoid harsh acids or steel wool. They can etch the parts and cause leaks. A simple vinegar soak and a soft brush usually do the job.

Cost, Brands, and Where to Buy
Kitchen faucet aerator replacement is one of the best low-cost upgrades. Most parts cost only a few dollars.
- Typical costs
- Standard external aerator: 5–12 USD
- Cache aerator with key: 8–20 USD
- Swivel or specialty models: 12–25 USD
- Trusted picks
- Neoperl, Danco, Delta, Moen, and Kohler make reliable aerators.
- Look for WaterSense labels where allowed to save water.
- Where to buy
- Hardware stores, plumbing supply houses, and online shops.
- Bring your old aerator to match threads and size with confidence.
Do not chase the very cheapest no-name parts. I see them fail early, leak, or whistle. A solid brand pays for itself in water savings and less hassle.

Safety, Codes, and When to Call a Pro
Small parts can be sharp. Wear gloves when you use tools or work with cleaners. Keep vinegar away from stone counters to avoid etching.
Check local rules on flow rates. Choose lead-free, certified parts that meet NSF/ANSI 61 and 372. That protects water quality in your home.
Call a pro if the aerator is fused to the spout, threads are stripped, or the spout tip spins while you turn. Those signs point to deeper issues. A plumber can swap the spout end or the whole faucet and finish the kitchen faucet aerator replacement without damage.
Frequently Asked Questions
How often should I replace a kitchen aerator?
Most homes can replace it every 1–2 years. If you have hard water or rust in your pipes, plan on yearly swaps.
How do I know my aerator size?
Remove the old one and measure the diameter across the threads. Match it to standard sizes or bring it to a store with a sizing gauge.
Can I clean instead of replace?
Yes. Soak it in warm vinegar and brush it. If the stream is still poor or the parts are worn, a new aerator is better.
Will a low-flow aerator hurt performance?
Good models keep a strong, soft stream. For heavy kitchen work, 1.5–1.8 gpm often hits the sweet spot.
Do I need plumber’s tape on the threads?
Usually no. The rubber washer seals the connection. Use a little tape only if the threads are damaged.
What if my faucet has a hidden aerator?
You need a cache key that matches your brand and size. It makes removal safe and fast.
Why does my new aerator whistle?
It may be cross-threaded, too tight, or a poor-quality insert. Re-seat it or choose a better model with the right flow rate.
Conclusion
A smooth stream, fewer splashes, and lower water use are all within reach. With the right size, a gentle hand, and the steps above, kitchen faucet aerator replacement is a 10-minute win. Start with removal, clean the seat, and hand-tighten the new part, then check the flow.
Take five minutes today to inspect your faucet tip. If it is clogged, swap it and enjoy instant results. Want more simple home fixes like this? Subscribe, share your success, or drop a question in the comments so we can help.
Pingback: How To Cook Turkey Bacon In The Oven: Crispy 2026 Guide
Pingback: How To Make Shredded Chicken In The Oven: Juicy Guide 2026
Pingback: How To Cook Beef Ribeye Steak In Oven: Perfect Results 2026
Pingback: Can You Install Your Own Water Softener System?: Pro Tips